Sample and locus management
Right mouse click on a sample name, to find a list of options for sample management:

Details:
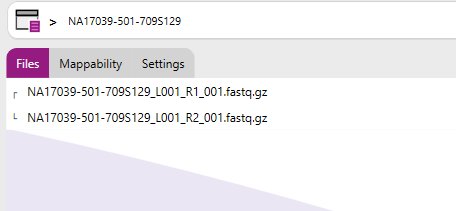
By clicking on the "Details" option, you can view additional information related to the sample, including the associated data files, mappability metrics, and the analysis settings used. This overview can also be accessed by clicking on the sample settings icon.
Sample settings:
By clicking on the "Sample settings" option, you can view and/or change the sample specific settings. This overview can also be accessed by clicking on the sample settings icon.
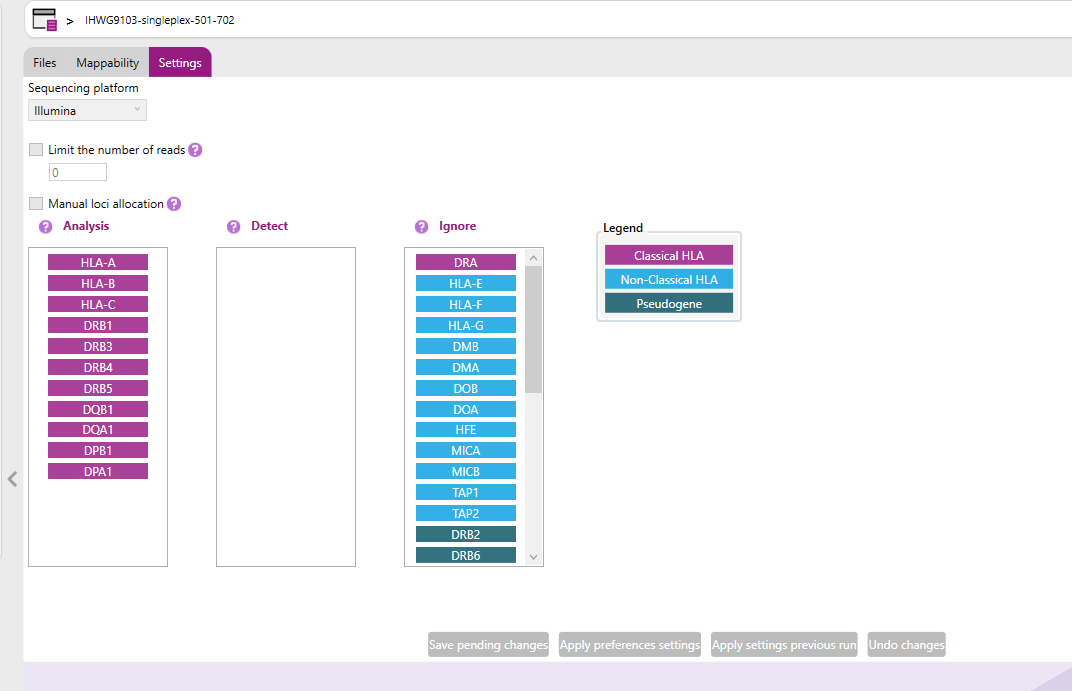
In this tab it possible to adjust the following:
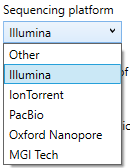
a) Sequencing platform: In the drop-down menu is possible to select the sequence platform used to generate the raw data. NGSengine will use the settings for the selected platform for analysis.
b) Limit the number of reads: The number of reads can be limited to a maximum to prevent long analysis time, as long as you ensure that the read depth is sufficient. The total amount of reads required to obtain a sufficient read depth is dependent on the amplicon strategy. In case of paired-end analysis, the forward and reverse sequence are considered as one read.
c) Manual loci allocation: When this setting is disabled, NGSengine will identify which loci in the analyzed and detect columns are present in the sample and then assign reads to each found locus. When this setting is enable, NGSengine will immediately assign reads to the enabled loci.
NGSengine can analyze data files containing data of pooled loci. NGSengine will automatically detect which loci are present in the data file.
However, in some cases, loci may not be detected automatically. This can happen for example if the DNA concentration of one of the genes was much lower compared to the other genes. Toggling on the “Manual loci allocation” option can be used to manually include any locus of interest in the analysis.
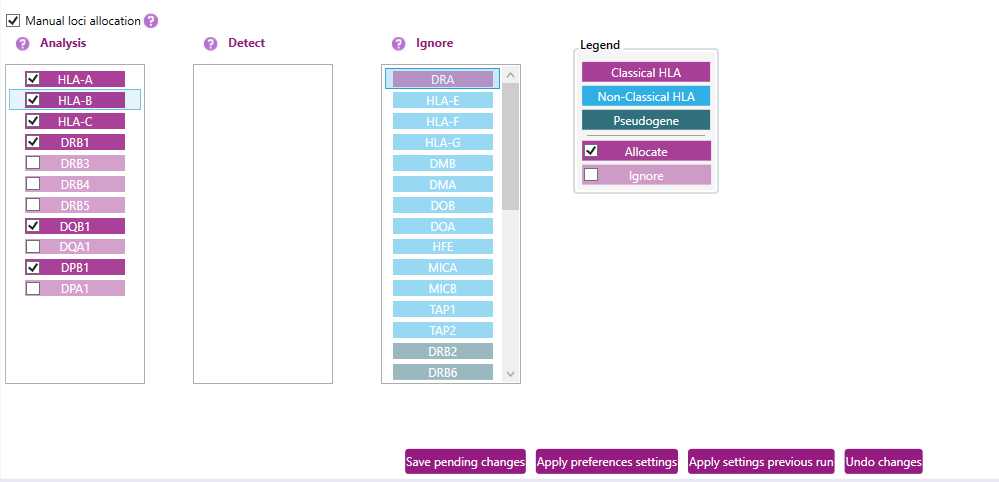
After enabling this setting, allocated loci present in the current sample analysis are indicated by a check mark.
Loci that are marked as 'Ignore' will appear greyed out to indicate they are excluded from analysis or not available in the data.
The below buttons are used to manage configuration changes. These buttons appear greyed out when their actions are not currently applicable.

Save pending changes
- Saves any unsaved modifications made to the current settings or configuration.
Apply preferences settings
- Applies user-defined preference settings to the current project.
Apply settings [from] previous run
- Loads and applies the settings used in the analysis of the sample.
Undo changes
- Reverts unsaved changes to the last saved state.
Example: In the overview above, the “manual loci allocation” option is toggled on. We can see that HLA-A, B, C DRB1, DQB1 and DPB1 were automatically detected by NGSengine. It might be that DRB3 is present at low frequency in this sample as well.
1) To manually allocate DRB3 in this sample, click the associated checkbox.
2) Next, click “Save pending changes” to save this analysis strategy.
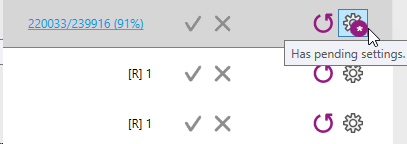
3) Navigate back to the overview screen. The settings icon will now display an asterix indicating that there are pending settings.
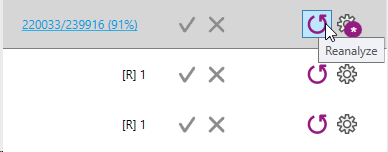
4) To apply this change, click reanalyze the sample.
5) A warning will be displayed as indicated below. Click “Yes” to continue and apply the changed settings. The sample will be analyzed including the DRB3 locus.

Set group:
Here you can select 2 options:
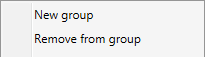
'New group': different samples/data files can be combined, e.g. sample /files containing data from different loci from one patient or a patient and its potential donors. The combined group of samples/files can be given a user-defined group name.
'Remove from group': use this option to remove a sample from a group.
Pair: Two files containing paired-end data can be combined and analyzed as if it was one file.
Join: Two data files can be combined to result in a single typing. Use this option for example if sequence data from different exons of the same sample are in separate sequence files.
Unlink: The Pair, Join or Set group options can be undone.
Set display name: A user defined name can be defined for the group or file(s).
Save PDF report:
A complete PDF report will directly be saved for the sample in a "Reports" folder in the Project folder. The file name will be: sample name_date_time_Report.
This PDF report includes the sample summary, detailed loci pages, reads info, analysis settings and reviews table. For more information see the Reports section.
By selecting multiple samples (by using the "Shift" button and clicking on the sample names) and then using the "Save PDF report" option you will get a report for each selected sample.
Approve / Reject:
Approve or reject all results for this sample. You can also add a comment. For more information on Approval click here.
Comments:
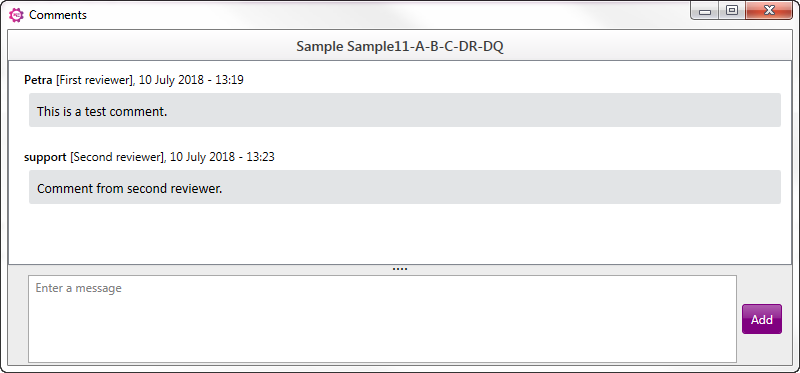
It is also possible to add comments to a sample without approve or reject. When this option is selected, a new window will open. At the bottom part a message/comment can be typed, next click on "Add" to add this comment to the sample. All comments will be shown in the box above, with information about the reviewer and time and date of the comment:
On the Overview screen an icon will be shown behind the sample name to indicate that comments have been added. By hovering with your mouse on the icon, the last comment will be shown:

The sample comments can be added to the PDF report via the Reports settings. For more info click here.
Analyze: start the analysis.
Reset: Reset the analysis.
Right-mouse click on a locus will open the locus management window:
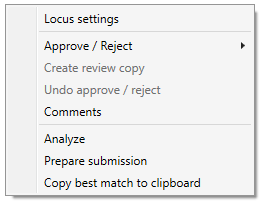
Locus settings:
This will open the locus settings window, as explained in the part about the Locus settings in the Preferences.
Approve / Reject:
Approve or reject all results for this locus. You can also add a comment. For more information on Approval click here.
Create review copy:
This option can be selected when the locus has been approved by the first reviewer. For more info click here.
Undo approve / reject:
This option can be used to undo the approve or reject for the locus. For more information on Approval click here.
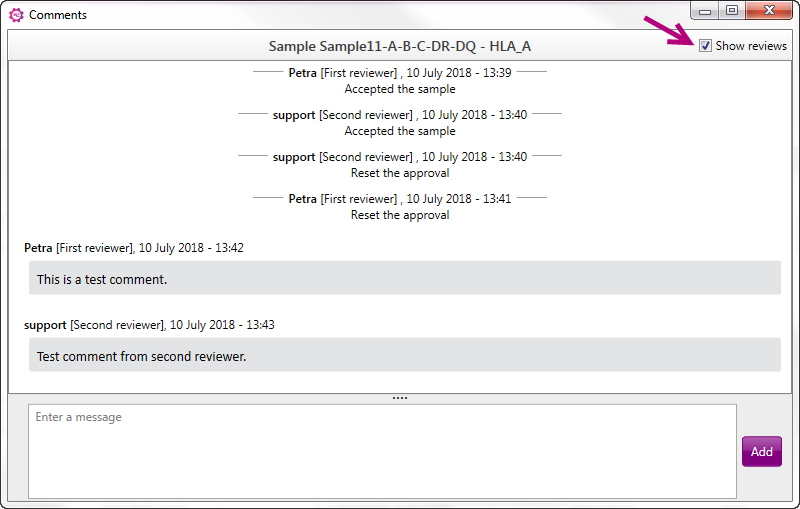
Comments:
It is also possible to add comments to a locus without approve or reject. When this option is selected, a new window will open. At the bottom part a message/comment can be typed, next click on "Add" to add this comment to the sample. All comments will be shown in the box above, with information about the reviewer and time and date of the comment. Also shown is a list of Reviews (approve, reject or reset) with information about the reviewer and time and date of the review. This list of reviews can be removed from the comments by unchecking the "Show reviews" box (see arrow):
On the Overview screen an icon will be shown behind the locus to indicate that comments have been added. By hovering with your mouse on the icon, the last comment will be shown:

The locus comments can be added to the PDF report via the Reports settings. For more info click here.
Analyze: Start analysis.
Remove locus:
The locus will be removed from the sample. After removing a locus, the sample has to be analyzed again: click on the 'Analyze' button behind the sample name.
Prepare submission:
This option can be used to prepare file for the submission of a new allele. For more info click here.
Copy best match to clipboard:
This option copies the best match typing observed for the specific selected locus.