Install SBTengine
Install SBTengine
The SBTengine® program can be installed and operated on a limited number of computers. The number allowed is determined by the license that is purchased (e.g. with a 2 user license you can install SBTengine on two PC's simultaneously).
Before installing, be sure that all other program applications are closed. To install:
1. Run the setup.exe file.
- Note: if setup complains that you should remove the previous version of SBTengine prior to installing, go to the 'Add/Remove' control panel and remove SBTengine first. Alternatively, you can let setup remove SBTengine prior to installation by creating a shortcut to setup.exe, opening its properties, appending ' /reinstall' (including a space) after the target and opening the shortcut.
Notes for system administrators:
- You can invoke setup.exe with (commandline) parameter /reinstall, causing setup to remove SBTengine automatically prior to installation.
- You can invoke setup.exe with parameters '/extractmsi <path>', causing setup to only extract the embedded MSI file to <path> and exit without installing anything.
- You can supply additional commandline arguments to be passed msiexec after the ones mentioned above if needed. For instance, '/quiet' causes setup to run almost without user interaction and install the Complete installation type.
2. A welcome message will appear. Continue installing SBTengine® by selecting next and following the setup instructions.
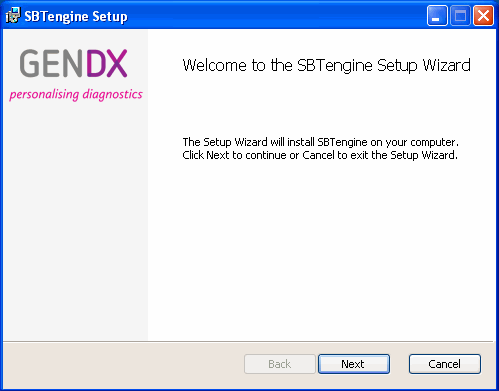
3. Click "Next".
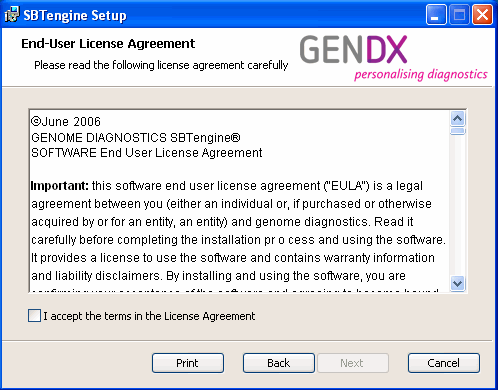
4. Toggle to accept the license agreement and consecutively click on "Next".
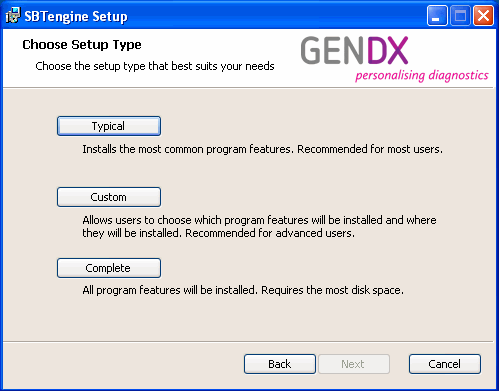
5. Select Setup type. We recommend you select Complete, however, this installs the GenDx Update Service that enables unprivileged users to update SBTengine. For more information and instructions to prevent this service to be installed, see Update Service.
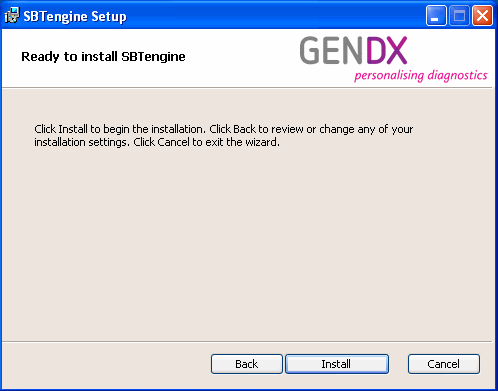
6. A window will pop up showing a summary of the installation process that it will take in the next step. If you want to modify some of the settings, select the "back" button. Otherwise select "Install".
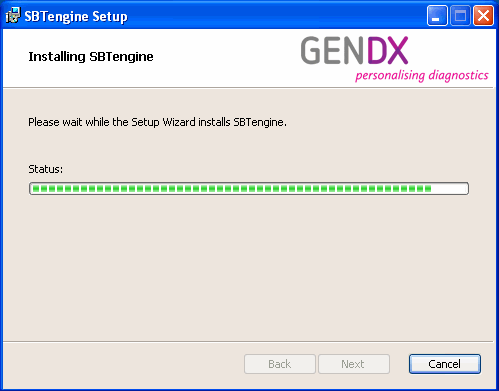
7. A window will show progress on the installation process. This may take several minutes.
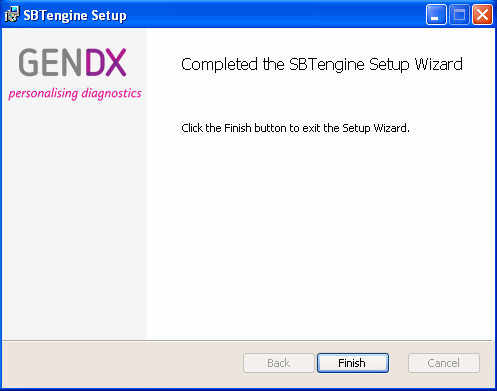
8. When ready, a window will show that the installation has been completed.
